| .. | ||
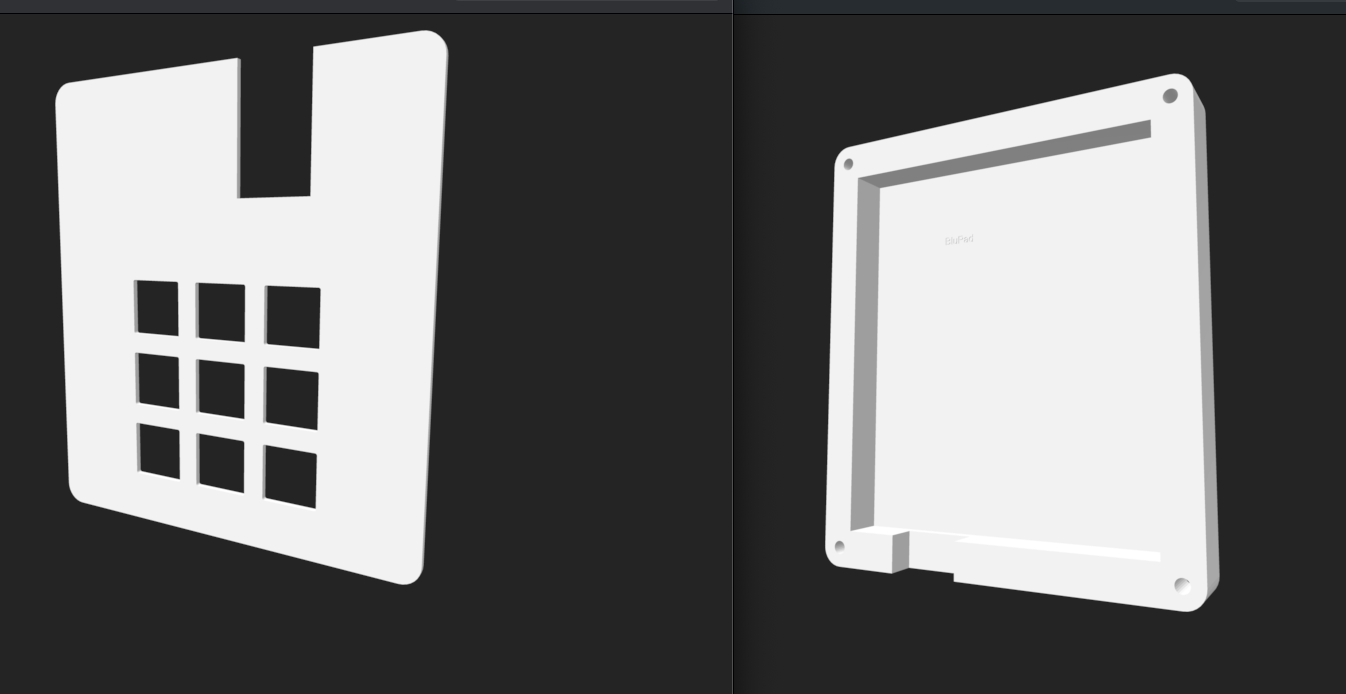
| CAD | ||
| Firmware | ||
| PCB | ||
| Production | ||
| README.md | ||
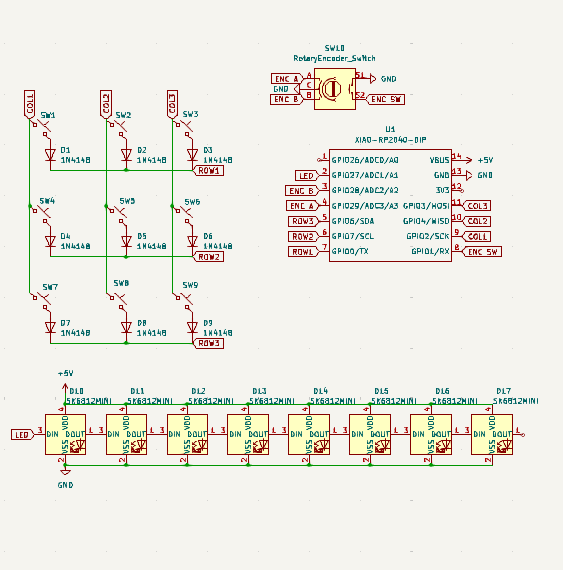
This was unlike anything I have undertaken before and I do not know if my HackPad has all the necessary components. I had many challenges that I had to persevere through while attempting to make my own macropad. At this point in time while it very possibly does not work in it's current form but I am proud of what I have accomplished so far. The first hurdle occured in KiCad where no matter how many times I imported the OPL + SEEED libraries I never got the same footprint as the tutorials so I had to figure out how to use a similar one. Then in KiCad the right menu bar dissapeared (idk why / how) and I couldn't find anywhere online how to make it appear. The elements on the PCB editor was barely visable and I finally got help in the Slack today on how to fix it (this set me back multiple days). The libraries still didn't import the 3d render of the Xiao in the viewer but I think I can solder it on. Routing the copper wires from the ratsnest and organizing the layout was pretty fun :) ! Fusion was unfortunately very slow and took roughly an hour just to get downloaded and setup on my laptop (Fusion is just slow- I didn't do anything) Even through this all, for my first attempt at ever designing a PCB I do not think I did too bad. This has got me interested in hardware based projects and I am definitely planning on using the Onboard grant soon.

 BOM
BOM
- 9 Cherry MX Switches
- Rotary Switch Encoder
- Keycaps!
- Xiao Seeed rp2040